 Save
Save My cousin's graduation party was supposed to be elegant but understated—until I volunteered to handle dessert. Walking into the kitchen with a stack of bakery boxes and fresh berries, I realized I had exactly 35 minutes to transform them into something that looked like I'd planned it all along. No baking required, just arrangement, color, and a little bit of theater. That's when the dessert board idea hit me: why serve dessert when you can create an edible landscape that makes people gasp the moment they see it?
I remember standing back to admire the finished board right before my cousin's friends arrived, and the first thing that happened was everyone pulled out their phones. Nobody even cut into it for five minutes—they were too busy photographing it, laughing, and pointing out their favorite treats. It became this unexpected centerpiece of the party, a place where people gathered not just to eat, but to linger and chat. That's when I realized: this board wasn't just dessert, it was conversation.
Ingredients
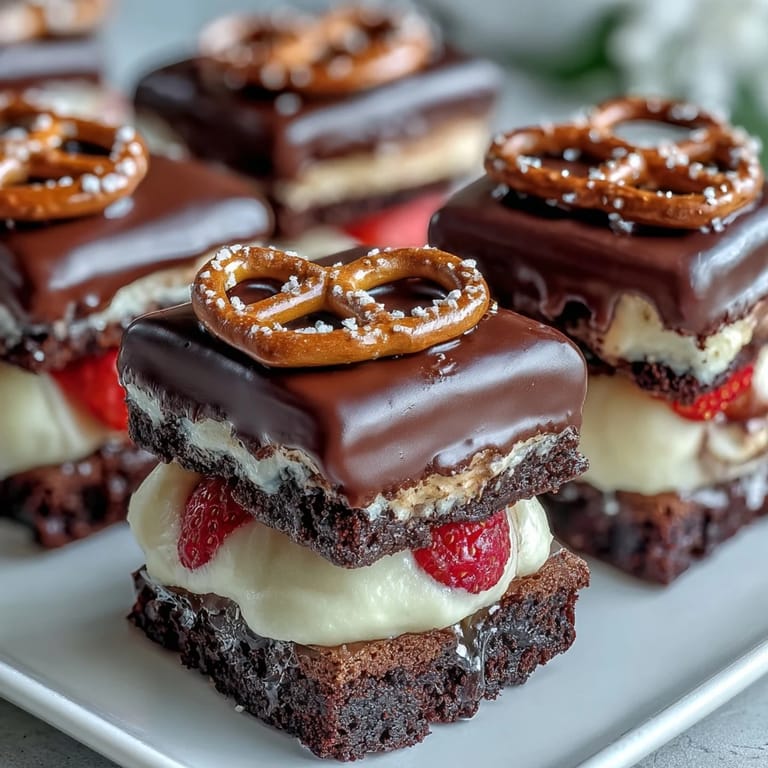
- Mini brownies (12 pieces): These are your anchor—rich, portable, and always a crowd favorite, so pick them from a bakery you trust or use your favorite homemade recipe.
- Mini lemon bars (12 pieces): Bright and tangy, they cut through the sweetness and give guests who prefer something lighter a perfect option.
- Chocolate truffles (12 pieces): Buy the good ones; they're small enough that quality really shows, and they add instant elegance to the board.
- Mini fruit tarts (12 pieces): These bring color and freshness, plus they feel fancy without requiring any effort from you.
- Sheet cake sliced into 12 pieces: Vanilla, chocolate, or funfetti all work beautifully—pick whatever makes your guests happiest, and slice them thin so they don't overwhelm the board.
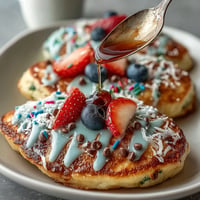
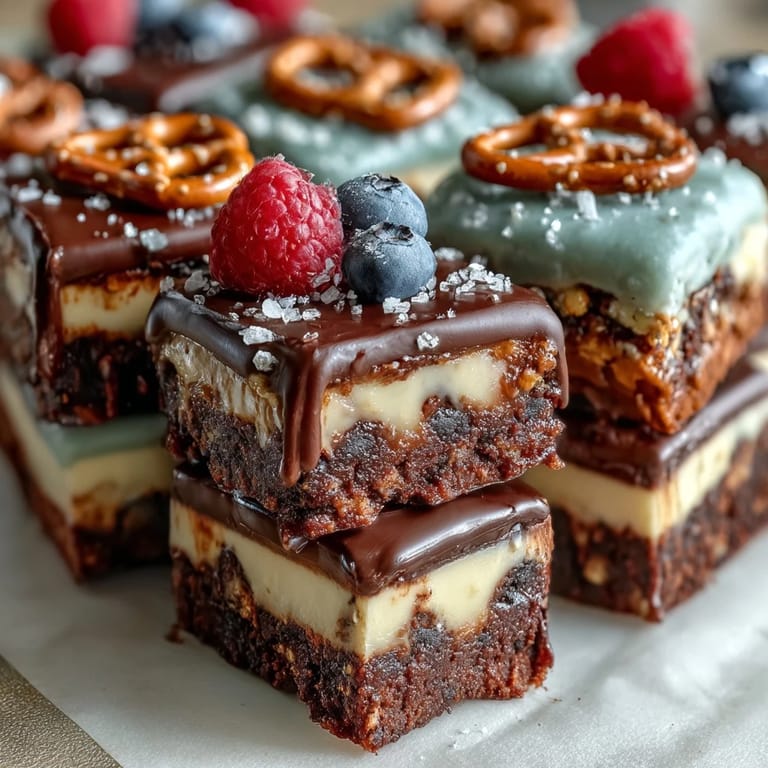
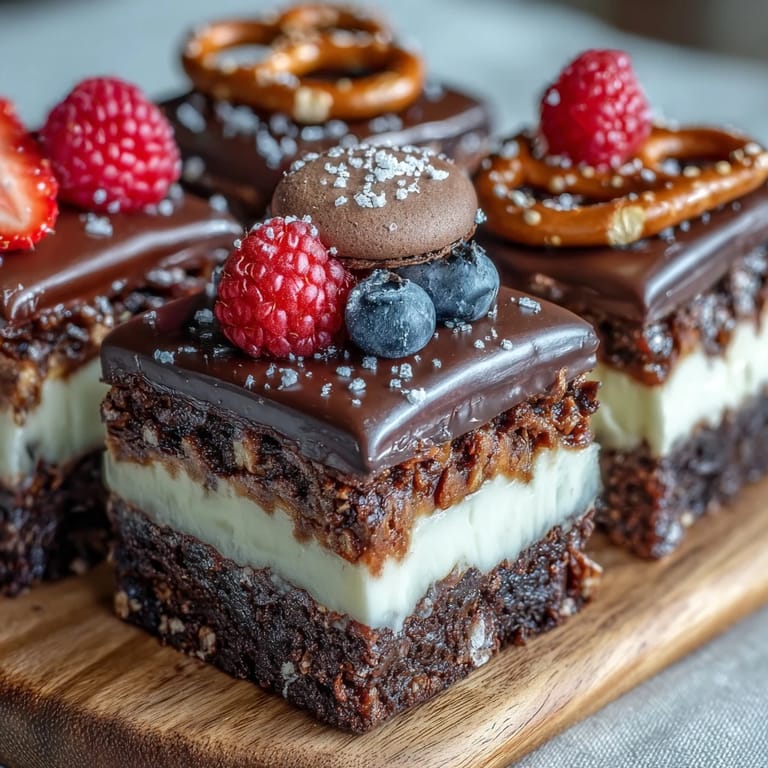
- Fresh strawberries (1 cup, halved): Their bright red is your visual anchor, and halving them makes them easier to grab and arrange.
- Blueberries (1 cup): These roll into gaps and add pockets of deep color that make everything around them pop.
- Raspberries (1 cup): Delicate and precious-looking, though handle them gently since they bruise if you're not careful.
- Seedless grapes (1 cup): They're stable, sweet, and fill empty spaces without demanding attention.
- Assorted macarons (½ cup): Pick colors that complement your other treats; they're small enough to tuck into corners and add sophistication.
- Mini meringues (½ cup): Light, airy, and gorgeous—they look delicate but are actually sturdy enough to handle rearranging.
- Chocolate-covered pretzels (½ cup): The salty-sweet thing works, and they add texture variation that keeps the board interesting.
- Edible flowers (optional): Use them sparingly as final garnish; they transform the board from nice to memorable.
- Fresh mint sprigs: A handful scattered across the board adds green, freshness, and a professional finishing touch.
Tired of Takeout? 🥡
Get 10 meals you can make faster than delivery arrives. Seriously.
One email. No spam. Unsubscribe anytime.
Instructions
- Pick your canvas:
- Choose a large wooden board, marble platter, or ceramic tray—something with character that'll photograph well and feel sturdy enough to move around. I used a pale wood board because it made the colors of the treats really sing.
- Create the cake foundation:
- Arrange your cake slices in a semi-circle or loose fan shape on one side of the board, overlapping them slightly for a polished look. This becomes your anchor and gives the eye somewhere to land.
- Build with mini treats:
- Place brownies, lemon bars, truffles, and fruit tarts in small clusters, alternating them so no two identical treats sit next to each other. Think like you're painting—colors and shapes should surprise the eye as it moves around.
- Fill the gaps with berries:
- Scatter strawberry halves, blueberries, raspberries, and grapes into the empty spaces, distributing them so the board feels balanced and never crowded. The berries should feel like they're tucked naturally between the treats, not forced.
- Add the fancy touches:
- Cluster macarons, meringues, and chocolate-covered pretzels in small groups, creating pockets of texture and color throughout the board. These are your final flavor and visual notes—use them to draw attention to less-prominent areas.
- Garnish for impact:
- Scatter edible flowers and fresh mint sprigs across the board as your last move, placing them where they'll catch light and frame your favorite treats. This final step takes two minutes but transforms everything.
- Timing is everything:
- Serve immediately if the room is cool, or cover loosely with plastic wrap and refrigerate until 20 minutes before guests arrive—this lets flavors warm up just enough and keeps everything fresh without looking dull.
 Save
Save What I didn't expect was how the board became a centerpiece for conversations—people who didn't know each other well suddenly had something to bond over, debating whether the lemon bar or the truffle was better, or teasing each other about who grabbed the last macaron. Dessert stopped being the ending and became the whole experience.
How to Choose Your Treats Strategically
The secret to a stunning board is varying texture, flavor, and visual appeal so every guest finds something they want. Think about balance: if you're doing rich chocolate treats, balance them with something bright and acidic like the lemon bars. If your crowd skews toward fruit, load up on tarts and berries. Consider what your local bakery does best—if they make incredible macarons, buy lots; if their brownies are just okay, grab fewer. You're curating an experience, not checking boxes.
The Art of Arrangement
Honestly, the arrangement matters more than the treats themselves—I've seen mediocre desserts look spectacular on a beautiful board, and beautiful desserts look amateur when they're just scattered around. The rule I follow is clustering similar items together, then alternating those clusters with different colors and shapes as I move around the board. Odd numbers work better than even ones, and leaving small gaps is more elegant than packing everything tight. When you step back, your eye should take a journey around the board, not get stuck in one overwhelming section.
Serving and Storage Tips
The board is most beautiful when it's just come out of the fridge, so don't leave it at room temperature longer than 20 minutes before the party starts—this keeps colors vibrant and chocolate from melting into everything else. If you're transporting it, cover it loosely with plastic wrap and drive carefully. Set out small tongs or dessert forks so people feel welcome to grab what they want without their hands getting all over everything.
- Prep the board up to 4 hours ahead and refrigerate it covered, then bring it out 20 minutes before guests arrive.
- If any treat looks slightly damaged or the berries start to weep, gently remove them and replace with fresh ones from your backup stash.
- Have small napkins or dessert plates nearby so people don't end up with sticky fingers while trying to balance a board and a drink.
 Save
Save Every time I make a dessert board now, I think about that graduation party and how something so simple became the moment people remember. That's the magic of it—you're not just feeding people, you're giving them permission to slow down and enjoy something beautiful.
Recipe Q&A
- → What treats work best on a dessert board?
Mini brownies, lemon bars, truffles, and fruit tarts provide a mix of flavors and textures that complement cake slices.
- → How should I arrange the items on the board?
Place cake slices on one side, cluster mini treats in groups, and fill gaps with fresh berries and grapes for balance and color.
- → Can this board be made ahead of time?
Yes, assemble and cover the board, then refrigerate. Bring to room temperature 20 minutes before serving for best flavor.
- → What garnishes enhance the presentation?
Edible flowers and fresh mint sprigs add a festive and fresh appearance to the dessert board.
- → Are there dietary considerations to keep in mind?
This board can be vegetarian and gluten-free by choosing suitable treats and cake options; always check allergen labels.