 Save
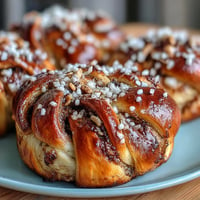
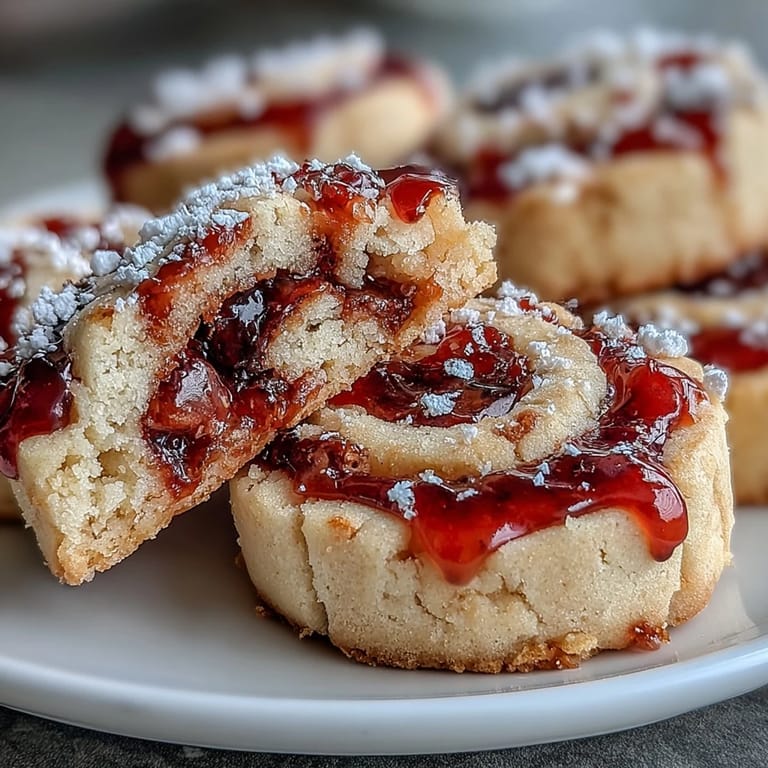
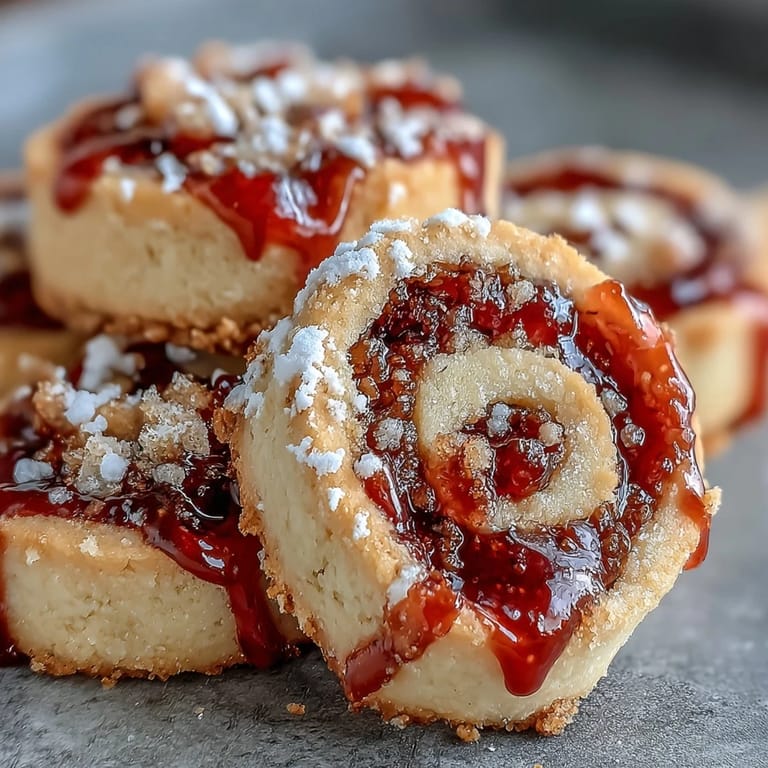
Save The smell of butter browning at the edges is what stopped me mid-step one Saturday morning. I was testing a shortbread recipe I'd scribbled on a napkin weeks earlier, and the moment I pressed my thumb into the first round of dough, I knew these cookies would be different. The raspberry jam pooled in the center like a tiny jewel, and when they came out of the oven, my kitchen smelled like a bakery I'd once visited in Edinburgh. I ate three before they cooled.
I made a double batch for my neighbor's book club once, and they vanished in minutes. One woman asked if I'd shipped them in from London. I didn't correct her right away. There's something about the crisp edge and soft center that makes people assume more effort went in than actually did, and I've learned to just smile and say the secret is good butter.
Ingredients
- Unsalted butter (1 cup, softened): This is the backbone of shortbread, so use the best quality you can find, and let it sit out until it's truly soft, not melted.
- Powdered sugar (1/2 cup): It dissolves more smoothly than granulated, giving you that tender crumb without any grit.
- Vanilla extract (1 teaspoon): A little goes a long way, I learned to buy the pure stuff after one too many artificial aftertastes.
- All-purpose flour (2 cups): Measure it correctly by spooning it into the cup and leveling off, packing it down will make your cookies dense.
- Salt (1/4 teaspoon): Just enough to make the sweetness sing without tasting salty.
- Raspberry jam (1/3 cup): I prefer preserves with visible seeds for texture, but smooth jam works if that's what you have.
- Granulated sugar (2 tablespoons, optional): A final dusting adds a little sparkle and crunch that feels celebratory.
Tired of Takeout? 🥡
Get 10 meals you can make faster than delivery arrives. Seriously.
One email. No spam. Unsubscribe anytime.
Instructions
- Preheat and Prep:
- Set your oven to 350°F and line two baking sheets with parchment paper. This keeps the bottoms from browning too fast and makes cleanup so much easier.
- Cream the Butter and Sugar:
- Beat the softened butter with powdered sugar using an electric mixer until it looks pale and fluffy, about 2 to 3 minutes. Don't rush this step, the air you whip in now is what makes the cookies tender.
- Add Vanilla:
- Mix in the vanilla extract until it's fully blended. The scent alone will make you want to skip ahead.
- Combine Dry Ingredients:
- Whisk the flour and salt together in a separate bowl, then add it gradually to the butter mixture. Stir just until the dough comes together, overworking it will make the cookies tough.
- Shape and Chill:
- Turn the dough onto a floured surface and roll it into a log about 1.5 inches thick. Wrap it tightly in plastic wrap and refrigerate for at least 30 minutes until firm.
- Slice the Dough:
- Use a sharp knife to cut the log into 1/4-inch rounds. Place them on your prepared baking sheets, leaving an inch between each cookie.
- Make Indentations:
- Press the back of a teaspoon gently into the center of each round to create a little well. Don't press all the way through, just enough to hold the jam.
- Fill with Jam:
- Spoon about half a teaspoon of raspberry jam into each indentation. I learned the hard way not to overfill, it bubbles over and burns on the pan.
- Bake:
- Slide the sheets into the oven and bake for 12 to 15 minutes, just until the edges turn light golden. The centers will still look pale, and that's exactly what you want.
- Cool:
- Let the cookies sit on the baking sheets for 5 minutes to firm up, then transfer them to a wire rack. They'll crisp up as they cool.
- Dust with Sugar:
- Once they're completely cool, sprinkle a little granulated sugar over the tops if you want that extra touch. It's optional, but it makes them look like they came from a bakery window.
 Save
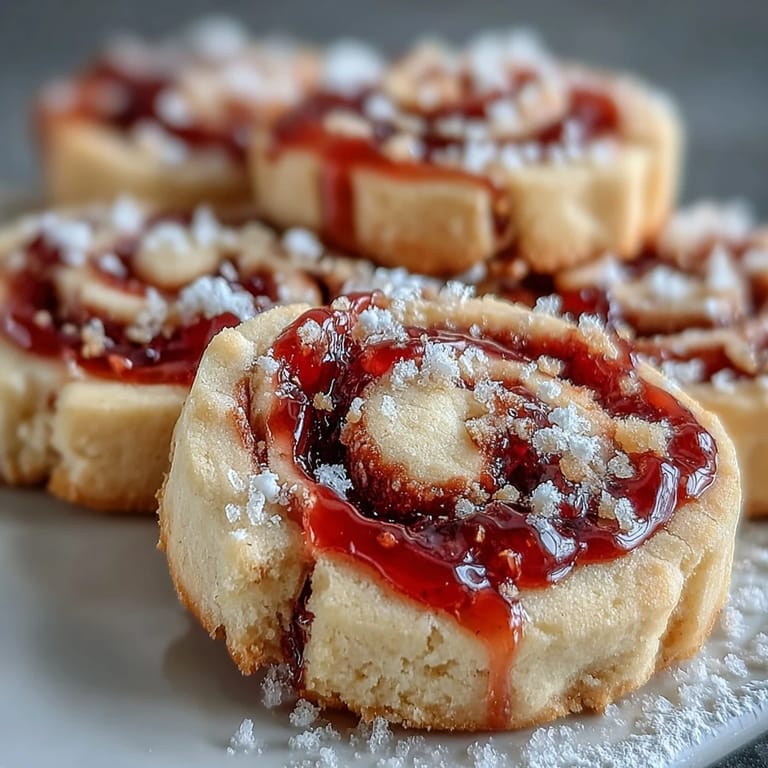
Save My friend once told me these cookies reminded her of her grandmother's kitchen in Wales. I'd never been, but I understood what she meant. There's something about the simplicity of butter, flour, and fruit that crosses borders and generations, landing right in the center of comfort.
Storage and Gifting
I store these in an airtight container at room temperature, and they stay fresh for up to a week. If you're gifting them, layer them between sheets of parchment in a tin, and tie it with a ribbon. I've found that homemade cookies say more than store-bought anything ever could, and these hold up beautifully in transit.
Flavor Variations
Raspberry is my go-to, but I've swapped in apricot, strawberry, and even lemon curd with great results. A friend added a pinch of lemon zest to the dough once, and the brightness it brought was stunning. You can also try orange marmalade if you want something a little more grown-up and less sweet.
Serving Suggestions
These cookies shine at teatime, especially with a strong black tea or Earl Grey. I've also packed them for picnics, tucked them into lunchboxes, and set them out at holiday gatherings where they disappear faster than anything else on the table.
- Serve them slightly warm with a cup of coffee for an afternoon pick-me-up.
- Pair them with vanilla ice cream for an easy but impressive dessert.
- Wrap a few in cellophane and give them as thank-you gifts that people actually remember.
 Save
Save These cookies have become my quiet pride, the thing I make when I want to feel grounded or generous. They're proof that you don't need complexity to create something worth sharing.
Recipe Q&A
- → Can I use other fruit preserves instead of raspberry?
Absolutely. Strawberry, apricot, blackberry, or cherry preserves all work beautifully. Choose something with a good balance of sweet and tart to complement the buttery shortbread base.
- → Why must I chill the dough before baking?
Chilling firms the butter, making the dough much easier to slice into neat rounds. It also helps the cookies hold their shape during baking, preventing excessive spreading in the oven.
- → How do I know when the cookies are done?
Look for light golden brown edges—this typically takes 12-15 minutes at 350°F. The centers should still appear pale. They'll firm up as they cool on the baking sheet.
- → Can I freeze the dough for later?
Yes. Wrap the chilled log tightly in plastic wrap, then place in a freezer bag. It will keep for up to 3 months. Thaw in the refrigerator overnight before slicing and baking.
- → What's the best way to store these?
Keep in an airtight container at room temperature for up to 1 week. Layer with parchment paper to prevent sticking. The sugar dusting will gradually absorb, but they remain delicious.
- → Why did my jam overflow during baking?
Overfilling the indentation causes jam to bubble over. Use only 1/2 teaspoon per cookie and avoid letting it touch the edges. A smaller, deeper well holds the filling better during baking.