 Save
Save The first batch cracked in my hands before I even got to the filling stage. I had rushed the tempering, skipped the second coat, and paid for it with a counter full of chocolate shards. My daughter walked in, saw the mess, and said we should just eat the pieces with marshmallows on top. She wasn't wrong, but I was determined to get it right. By the third try, I learned to trust the chill time and not pry too eagerly. When those glossy spheres finally held together and I sealed the halves, it felt like winning a very delicious, very messy game.
I made a dozen of these for my niece's birthday sleepover, tucked into cellophane bags tied with ribbon. The girls dropped them into their mugs at the same time, and the kitchen filled with squeals as the chocolate collapsed and the marshmallows bobbed to the surface. One girl said it was like a science experiment you could drink. I stood back and watched them stir their mugs with intense focus, foam gathering at the edges, and realized I'd never seen kids that quiet over something sweet.
Ingredients
- High-quality dark or milk chocolate: This is the structure and the flavor, so use chocolate you'd actually enjoy eating on its own, not baking chips that seize up or taste waxy.
- Unsweetened cocoa powder: It dissolves beautifully into hot milk and gives you control over sweetness, plus it adds that deep chocolate richness you expect from real hot cocoa.
- Powdered sugar: It sweetens without graininess and blends instantly, which matters when you're trying to create a smooth, creamy drink in seconds.
- Mini marshmallows: They melt slower than the big ones and create a fun visual moment when the bomb splits open, plus they're easier to portion into small spheres.
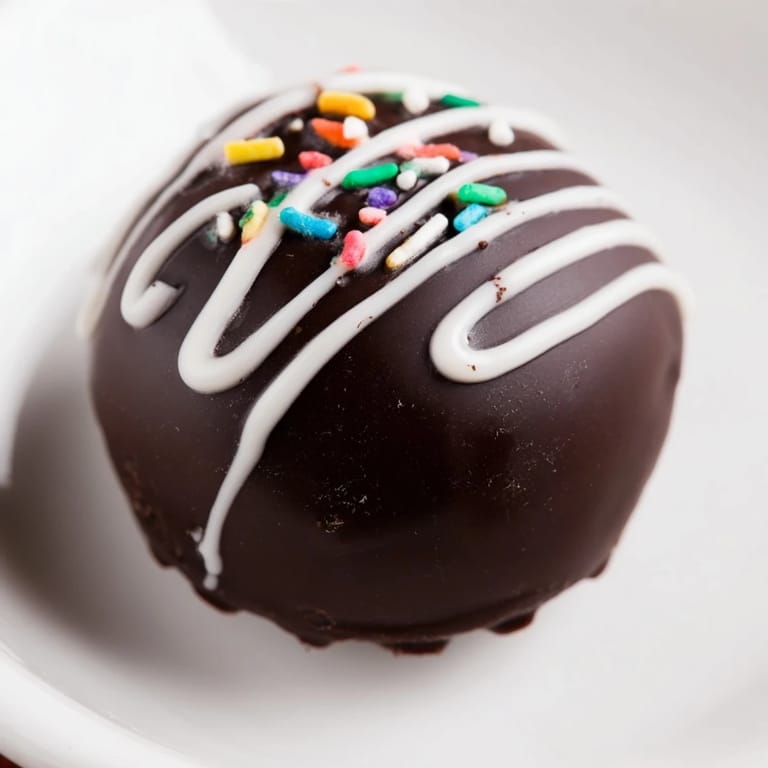
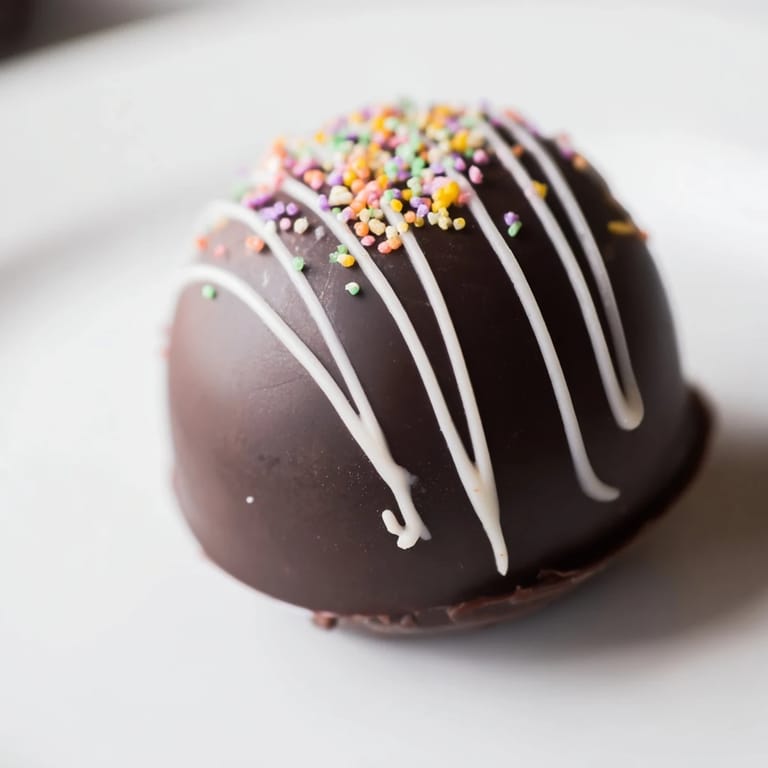
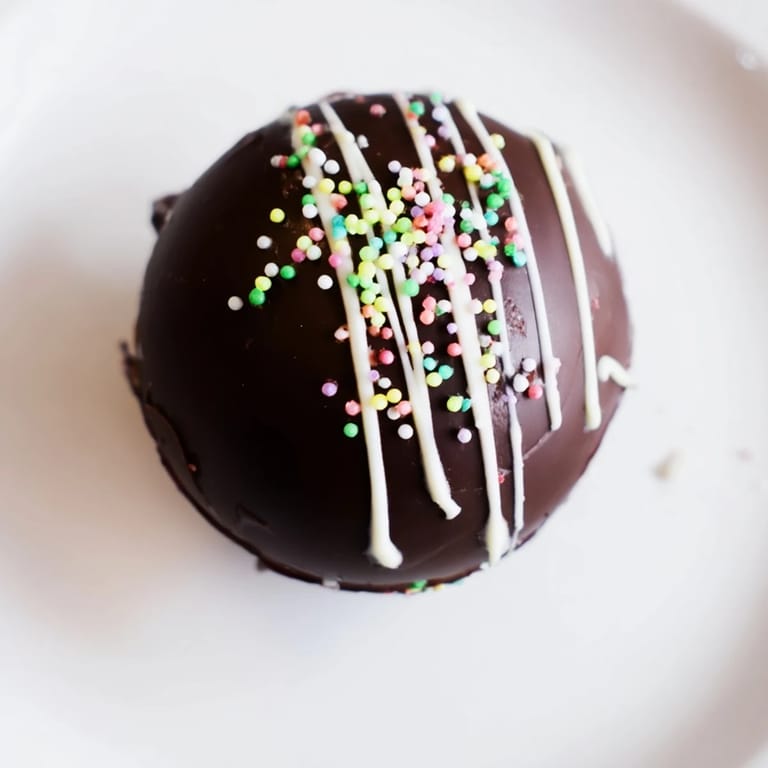
- White chocolate for drizzling: This is purely cosmetic but makes the bombs look bakery-perfect, and it gives you a place to stick sprinkles if you're feeling festive.
Tired of Takeout? 🥡
Get 10 meals you can make faster than delivery arrives. Seriously.
One email. No spam. Unsubscribe anytime.
Instructions
- Melt your chocolate gently:
- Use a double boiler or microwave in short bursts, stirring between each one until the chocolate is completely smooth and glossy. Overheating will make it grainy and impossible to work with, so patience here pays off.
- Coat the molds thickly:
- Use a pastry brush or the back of a spoon to spread a generous, even layer of chocolate inside each sphere mold, making sure there are no thin spots. Thin shells crack easily, and you'll know it the hard way if you skimp.
- Chill and repeat:
- Refrigerate for 10 minutes, then apply a second coat for strength and pop them back in the fridge for another 10 to 15 minutes. The double layer is what keeps your spheres intact during assembly and gives them a satisfying snap when they melt.
- Unmold carefully:
- Gently twist and lift each shell out of the mold, handling them as little as possible so your warm fingers don't leave prints or melt the edges. If one sticks, chill it a bit longer rather than forcing it.
- Fill half the shells:
- Spoon 1 tablespoon each of cocoa powder and powdered sugar into half of your shells, then add a small handful of mini marshmallows. Don't overfill or the halves won't seal properly.
- Seal the spheres:
- Warm a plate in the microwave for about 20 seconds, then press the rim of an empty shell half onto the warm surface just until the edge softens. Quickly press it onto a filled half and hold for a few seconds until it bonds, smoothing any seams with your fingertip.
- Decorate and serve:
- Drizzle with melted white chocolate and add sprinkles if you like, then let everything set at room temperature. To use, just drop a bomb into a mug and pour very hot milk over it, stirring as it melts into a rich, creamy hot chocolate.
 Save
Save One cold January night, my husband came home late from a long shift and found a hot chocolate bomb waiting in his favorite mug with a note that said just add milk. He texted me a photo of the marshmallows floating in the foam with the caption this is better than flowers. I saved that text. Sometimes the best gifts are the ones that melt.
Getting the Shell Just Right
The shell thickness makes or breaks this recipe. Too thin and it shatters in your hands, too thick and it won't melt smoothly in the milk. I learned to aim for about an eighth of an inch, which sounds fussy but really just means two solid coats with no see-through patches. Hold the mold up to the light after the first layer, if you see any glow, add more chocolate to that spot. Your future self will thank you when every sphere pops out intact.
Flavor Variations Worth Trying
Once you've mastered the basic version, the filling becomes a playground. I've tucked in crushed peppermint candies for a holiday version, stirred instant espresso powder into the cocoa for a mocha bomb, and even added a pinch of cinnamon and a few mini chocolate chips for a Mexican hot chocolate twist. My favorite experiment was using freeze-dried strawberries and white chocolate shells, it tasted like melted strawberry cheesecake. Just keep the dry ingredients to about two tablespoons total so the bomb doesn't get too heavy or refuse to melt properly.
Storage and Gifting Tips
These bombs hold up beautifully at room temperature for up to two weeks as long as you keep them in an airtight container away from sunlight and heat. I wrap each one in a square of cellophane, twist the top, and tie it with kitchen twine for gifting. They look bakery-fancy with almost no effort. If you're making them in summer, store them in the fridge and let recipients know to keep them cool, otherwise you'll end up gifting chocolate puddles.
- Label each bomb with the type of chocolate and any mix-ins so people know what they're getting.
- Pair them with a small bag of extra marshmallows or a cinnamon stick for a complete gift set.
- Write the serving instructions on a little card, not everyone knows to use very hot milk instead of water.
 Save
Save There's something deeply satisfying about handing someone a chocolate sphere and watching them discover what's inside when the milk hits. It's a tiny, sweet surprise that makes an ordinary evening feel a little bit special.
Recipe Q&A
- → What type of chocolate works best for the shells?
High-quality dark or milk chocolate works wonderfully. For deeper flavor, combine both varieties. Premium chocolate melts smoothly and creates sturdy shells that hold up well during filling and serving.
- → How do I prevent the chocolate shells from cracking?
Apply chocolate in two thin, even layers with proper chilling time between coats. Ensure the silicone molds are completely clean and dry before starting. Allow shells to set fully before carefully unmolding them.
- → Can I make these ahead of time?
Absolutely. Store completed bombs in an airtight container at room temperature for up to two weeks. They're ideal for preparing in advance for gifts or entertaining.
- → What are some filling variations I can try?
Beyond the classic cocoa mixture, add cinnamon, chili powder, or crushed peppermint candies. Substitute mini marshmallows with flavored varieties, or include hot cocoa mix powder blended with the cocoa powder for enhanced flavor.
- → How do I know when the milk is hot enough?
Use milk heated to 160-180°F (70-82°C). Very hot milk ensures the chocolate shell melts completely and distributes evenly throughout the beverage. Boiling water can be used as well.
- → What should I use if I don't have silicone sphere molds?
Silicone sphere molds are essential for this creation. They're widely available online and in baking supply stores. The proper size (2.5-inch diameter) ensures ideal proportions for serving and melting.