 Save
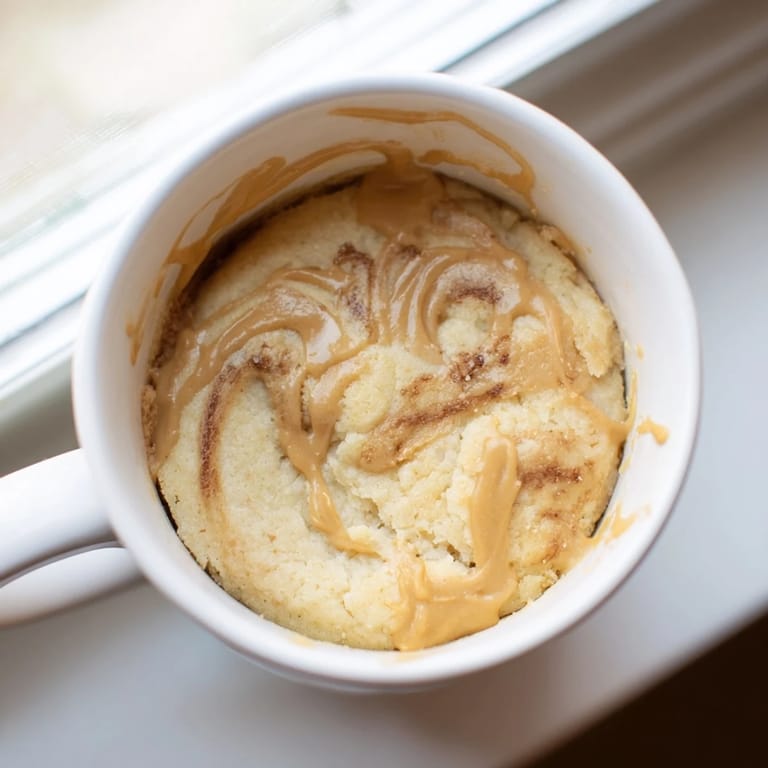
Save I discovered this recipe on a Tuesday night when I was too impatient to wait for the oven to preheat and too hungry for anything that took planning. Grabbing a mug from the cabinet felt like a small rebellion against conventional baking, and three minutes later I was holding something warm and impossibly fluffy that tasted like it belonged in a bakery. That moment taught me that the best recipes are often the ones born from mild desperation and a microwave.
I made this for my roommate when she was stressed about a work presentation, and watching her face when she took that first bite was worth every second. She kept saying it didn't seem possible that something this good could come from a microwave, and honestly, I felt the same way the first time.
Ingredients
- Creamy peanut butter: Two tablespoons is the heart of this whole thing, creating richness without weighing it down.
- Unsalted butter, melted: This adds moisture and helps the cake rise with that gentle, tender crumb.
- Large egg: Don't skip this or try to substitute; it's what makes the whole thing fluffy instead of dense.
- Milk: Dairy or non-dairy both work beautifully; it loosens the batter so the cake rises evenly.
- Vanilla extract: A small amount brightens the peanut butter and keeps it from feeling one-dimensional.
- All-purpose flour: Measured by spooning and leveling prevents a tough, heavy cake.
- Granulated sugar: Two tablespoons sweetens without overpowering the peanut flavor.
- Baking powder: Just a quarter teaspoon does the lifting work in such a small cake.
- Salt: A pinch makes the peanut flavor pop in a way people can't quite put their finger on.
Tired of Takeout? 🥡
Get 10 meals you can make faster than delivery arrives. Seriously.
One email. No spam. Unsubscribe anytime.
Instructions
- Warm together the fats:
- Combine the peanut butter and melted butter in your mug and stir until you get a smooth, unified mixture. This step only takes a minute but it matters because warm peanut butter blends more easily with everything else.
- Whisk in the wet ingredients:
- Add the egg, milk, and vanilla, then use a fork to whisk everything together until you don't see any streaks of peanut butter. Take your time here; a smooth batter rises more evenly.
- Fold in the dry ingredients gently:
- Sprinkle the flour, sugar, baking powder, and salt over the top and stir just until combined, stopping as soon as you don't see any white streaks. Overmixing develops gluten and makes the cake dense, which defeats the whole purpose.
- Microwave with intention:
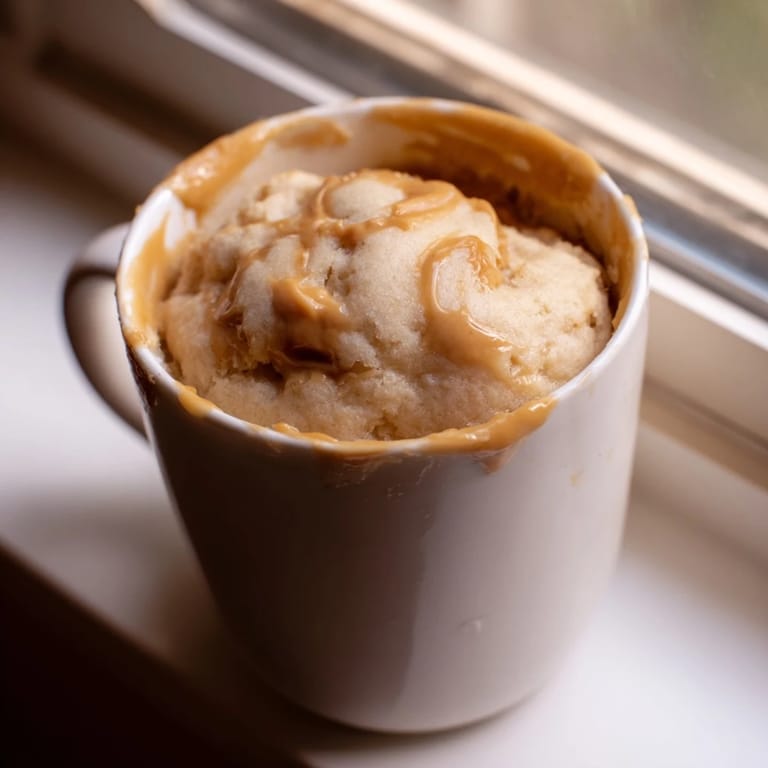
- Heat on high for 60 to 75 seconds, watching if your microwave runs hot, because the difference between perfectly set and slightly overcooked is about ten seconds. You'll see the cake rise above the rim of the mug and look almost set on top when it's done.
- Cool just enough to eat:
- Let it sit for a minute or two so the structure sets and you don't burn your mouth on molten cake. One minute is enough; longer and it starts to firm up in a way that loses some of the warmth and comfort.
 Save
Save There's something almost magical about pulling a warm, risen cake from the microwave and knowing you made it yourself in the time it takes to brew tea. It changed how I think about dessert when I'm alone or when I only want to satisfy a small craving without a lot of fuss.
Flavor Variations That Work
Once you nail the basic version, the mug becomes your playground. Swapping the peanut butter for almond or sunflower seed butter shifts the whole flavor profile and keeps things interesting on repeat visits to your midnight kitchen. I've also experimented with a half teaspoon of cocoa powder mixed into the batter, which creates this subtle chocolate and peanut moment that feels almost sophisticated for something made in three minutes.
The Topping Question
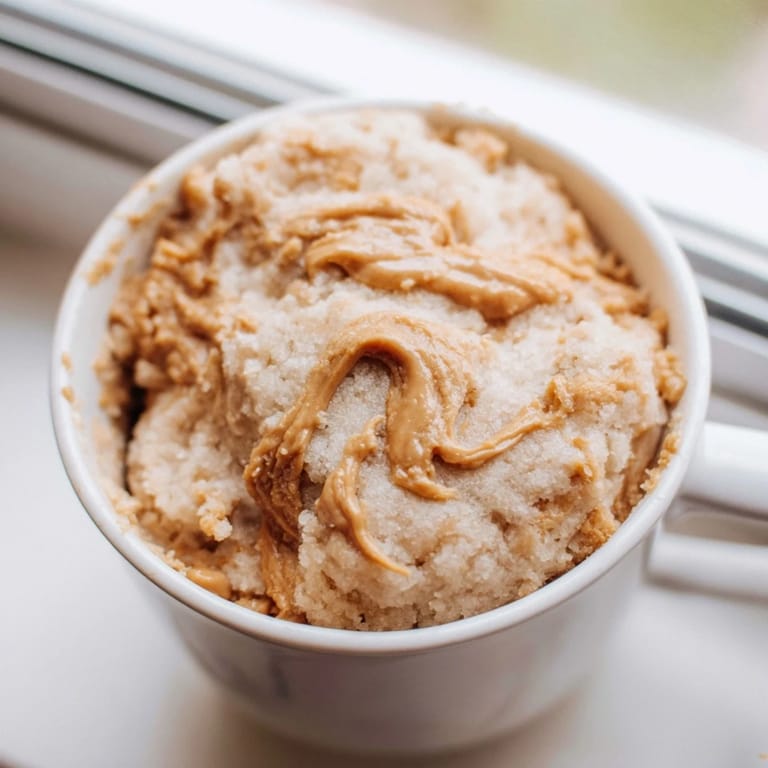
Straight from the mug, this cake is already complete and satisfying, but the toppings are where you can have real fun and not feel guilty about it. A drizzle of honey adds floral sweetness, chocolate chips melt into warm pockets of indulgence, and a cold scoop of vanilla ice cream on top creates this temperature contrast that makes you close your eyes for a moment.
Making It Work for Your Diet
This recipe adapts with grace to different eating preferences and needs, which is part of why I keep coming back to it. The dairy swaps are straightforward, and exploring your options makes it feel less like restriction and more like customization.
- Use any non-dairy milk you have on hand, from oat to coconut to soy, and the cake rises just the same.
- Natural peanut butter gives a deeper, less sweet flavor if you prefer things less sugary.
- For gluten-free baking, a 1:1 gluten-free flour blend works without adjusting anything else about the recipe.
 Save
Save This cake exists in that perfect space between indulgence and practicality, asking almost nothing from you while delivering something warm and comforting on even the busiest nights. Once you make it once, you'll find yourself reaching for it again and again.
Recipe Q&A
- → How do I avoid overcooking the cake?
Microwave on high for 60–75 seconds and monitor closely; overcooking can dry out the cake. Stop once the center is set and risen.
- → Can I use non-dairy milk alternatives?
Yes, almond or oat milk work well and provide a dairy-free option without compromising moistness.
- → What can I add for extra flavor?
Try topping with chocolate chips, a drizzle of honey, or a scoop of ice cream for enhanced taste and texture.
- → Is it possible to make this gluten-free?
Substitute all-purpose flour with a 1:1 gluten-free flour blend to maintain structure while avoiding gluten.
- → Can natural peanut butter be used instead of creamy?
Natural peanut butter adds a less sweet, more robust flavor; ensure it is well-stirred before mixing.